
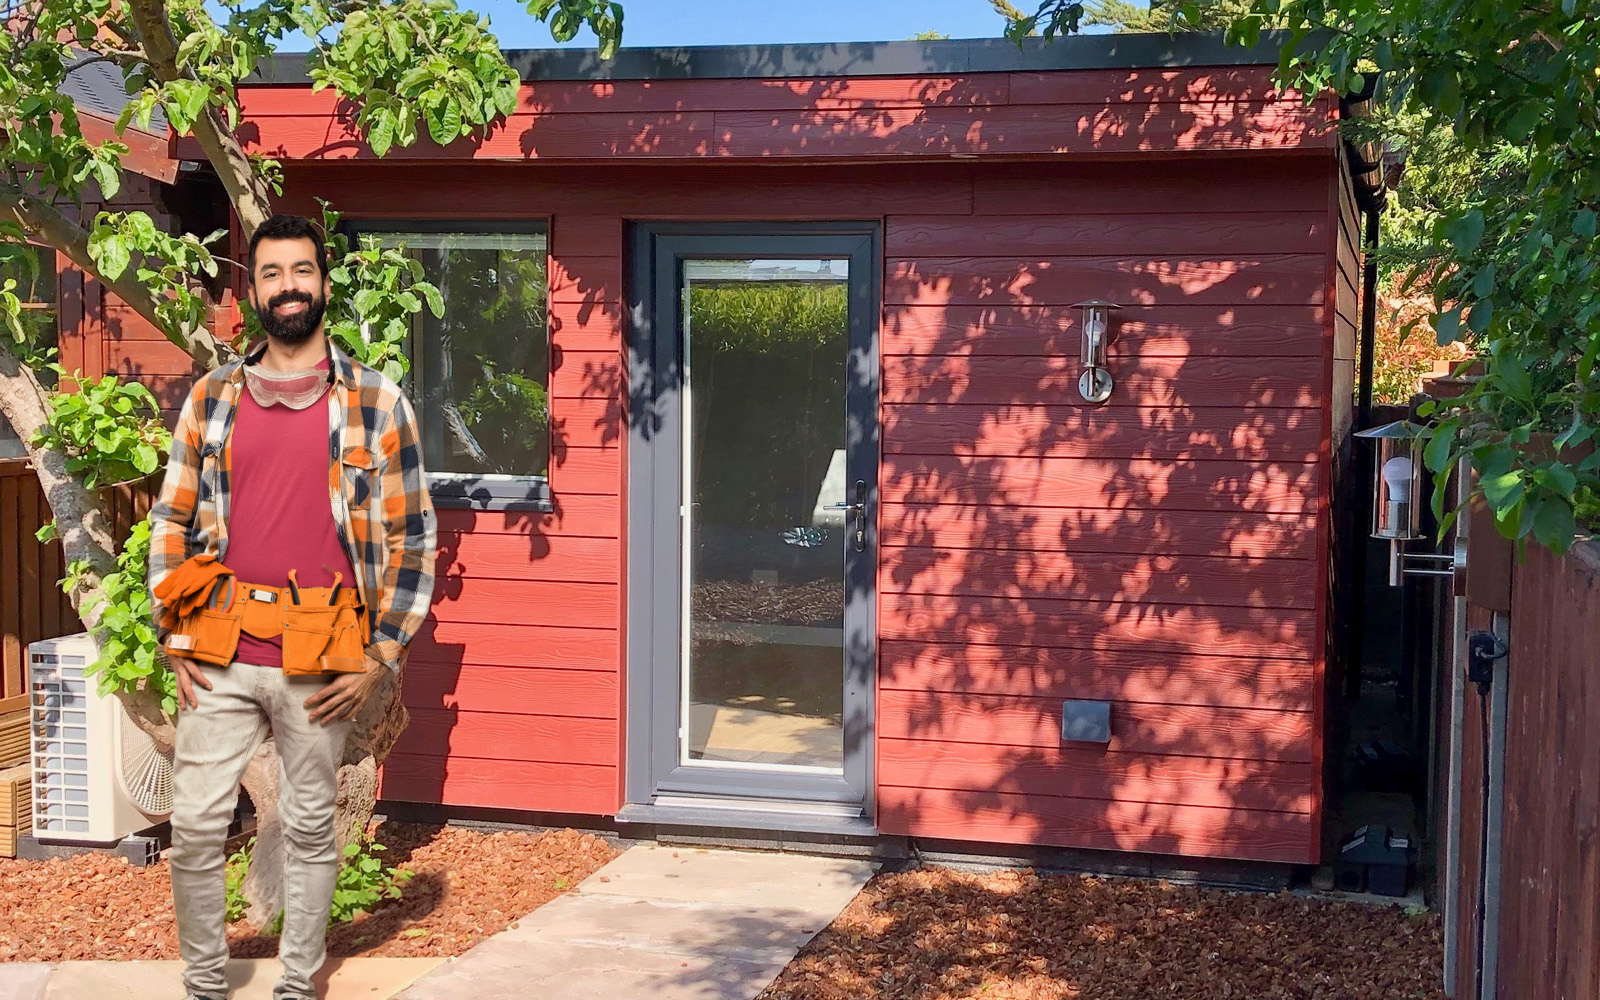
Thinking about installing your own weatherboard cladding?
Some smaller, straightforward projects can suit a capable DIYer. Others need the experience, equipment and judgement of a professional installer.
The important thing is understanding what's involved before you start.
A simple garden room is very different from a two-storey house with awkward corners, several windows and difficult access.
We'll help you assess your project, understand the work and decide whether doing it yourself is the right option.
Can you install weatherboard cladding yourself?
Yes, some weatherboard systems can be installed by competent DIYers, provided the project is suitable and the manufacturer's instructions are followed.
But that doesn't mean every wall is a good first project.
You'll need to understand more than how to cut and fix boards.
A successful installation depends on the condition of the existing wall, correct support, moisture management, ventilation, fixings and safe working practices.
- Condition of the existing wall
- Correct support
- Moisture management
- Ventilation
- Fixings
- Safe working practices
Not sure?
If you're unsure about the wall structure or any technical requirement, get advice before proceeding.
Which cladding projects are suitable for DIY?
-
May suit DIY
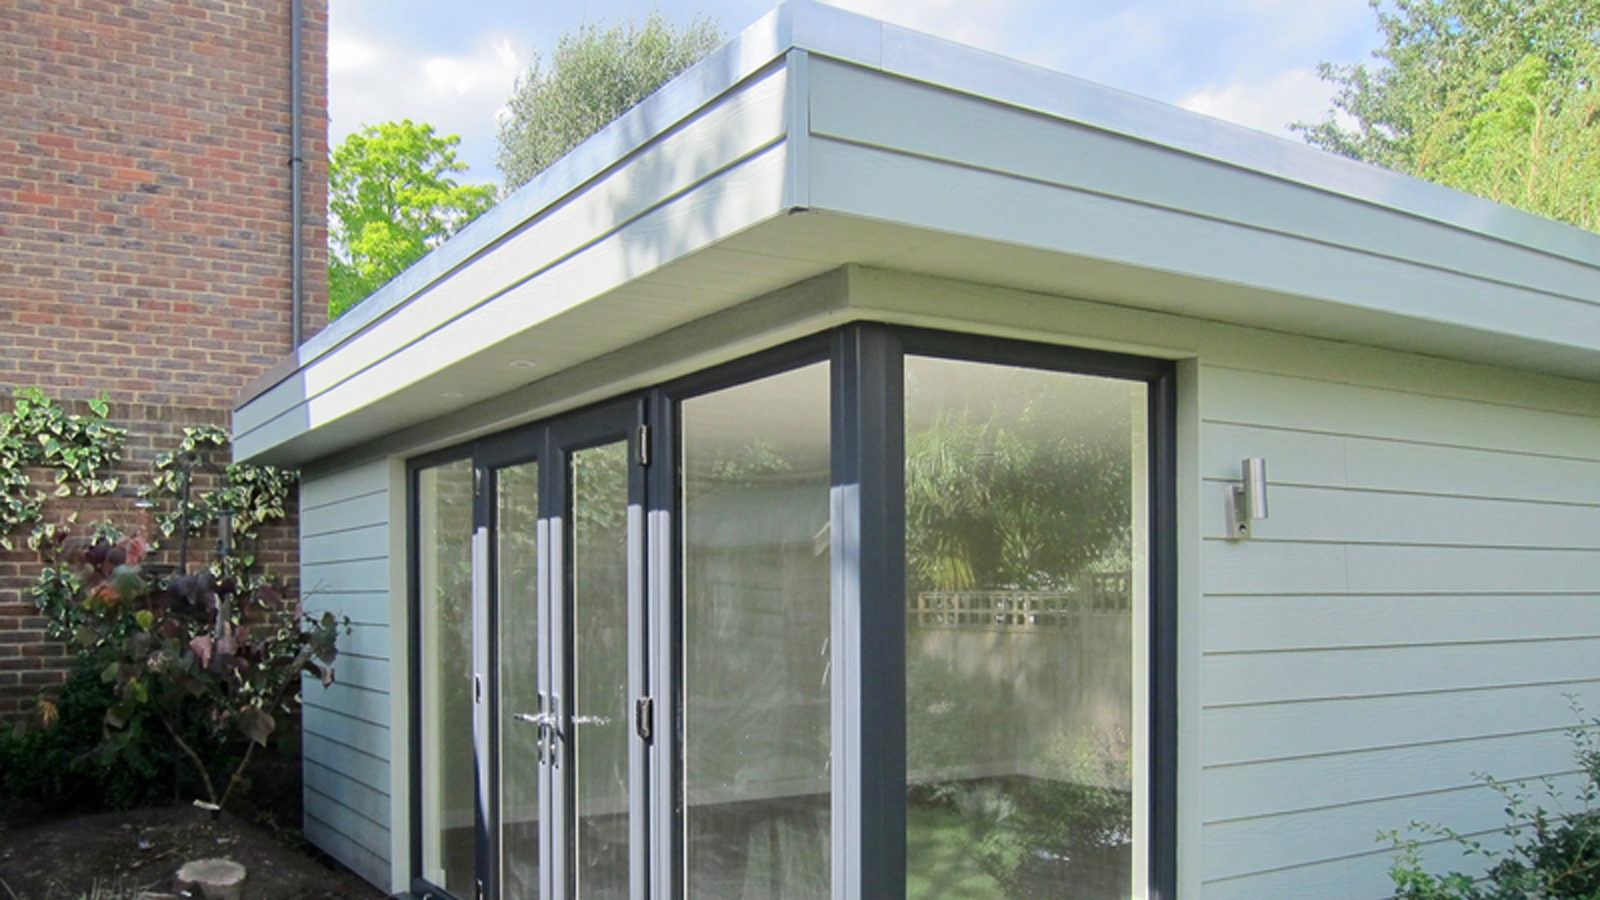
Projects that may suit an experienced DIYer
Smaller, straightforward elevations are often the most manageable starting point. Examples include:
- Garden rooms with simple wall shapes
- Small, single-storey outbuildings
- Garages with straightforward elevations
- Accessible ground-floor walls with few openings
Even on a small project, you must be able to work safely and understand how the complete wall system should be installed.
-
Consider a professional
Projects where professional installation may be better
Some projects need more experience, specialist equipment or detailed design work. These include:
- Two-storey elevations
- Walls requiring scaffolding or other specialist access
- Dormers and complicated roof junctions
- Bay windows and irregular openings
- Walls that are significantly uneven or damaged
- Projects requiring specialist fire or moisture detailing
- Buildings with more complex structural or regulatory requirements
Good to know
Don't judge the difficulty by wall area alone.
A small wall with several windows and corners can take more work than a larger, uninterrupted elevation.
What's involved in installing weatherboard cladding?
The exact method depends on the product and the building.
For many weatherboard systems, the main stages include:
- Check the existing wall and confirm the proposed system is suitable.
- Make any required repairs and assess the substrate.
- Install any necessary membrane or wall protection.
- Fit the specified support battens and cavity details.
- Provide the required ventilation, drainage and fire protection.
- Set out the wall and install the starter profile.
- Fit corners and finishing details as required.
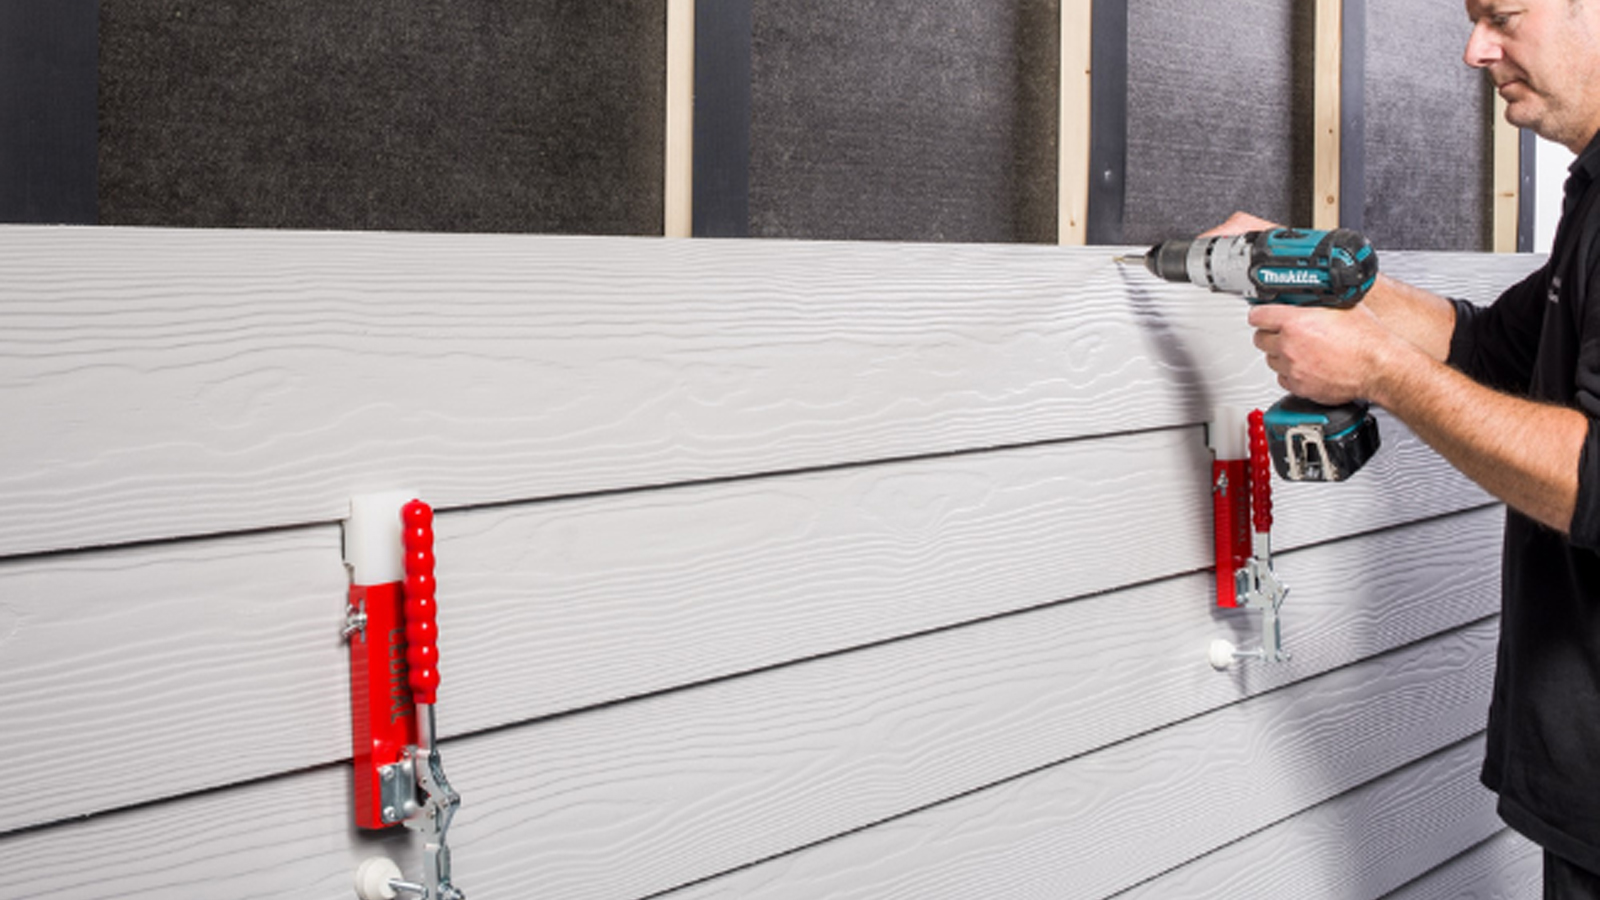
- Cut and fix the boards using the approved method.
- Complete the details around windows, doors and junctions.
- Inspect the finished installation.
Important
This is an overview, not a substitute for the manufacturer's installation instructions.
Different weatherboard systems use different fixing positions, overlaps, clips, board spacing and ventilation requirements.
Why is preparation so important?
A good result starts before the first board goes up.
Check that your wall is suitable for the cladding system and that the proposed fixings have the support they need.
You'll also need to plan the batten layout, ventilation and details around openings.
Getting the setting out right
Getting the setting out right is particularly important.
If the starter profile isn't level, the finished rows can look uneven. Small errors may also become more noticeable as you work across or up the wall.
A small tilt in the first course carries through every row above it.
Use an appropriate long level or laser level and check your measurements carefully.
Good to know
It's easier to correct a problem before installing several courses of cladding.
How do you measure a wall for weatherboard?
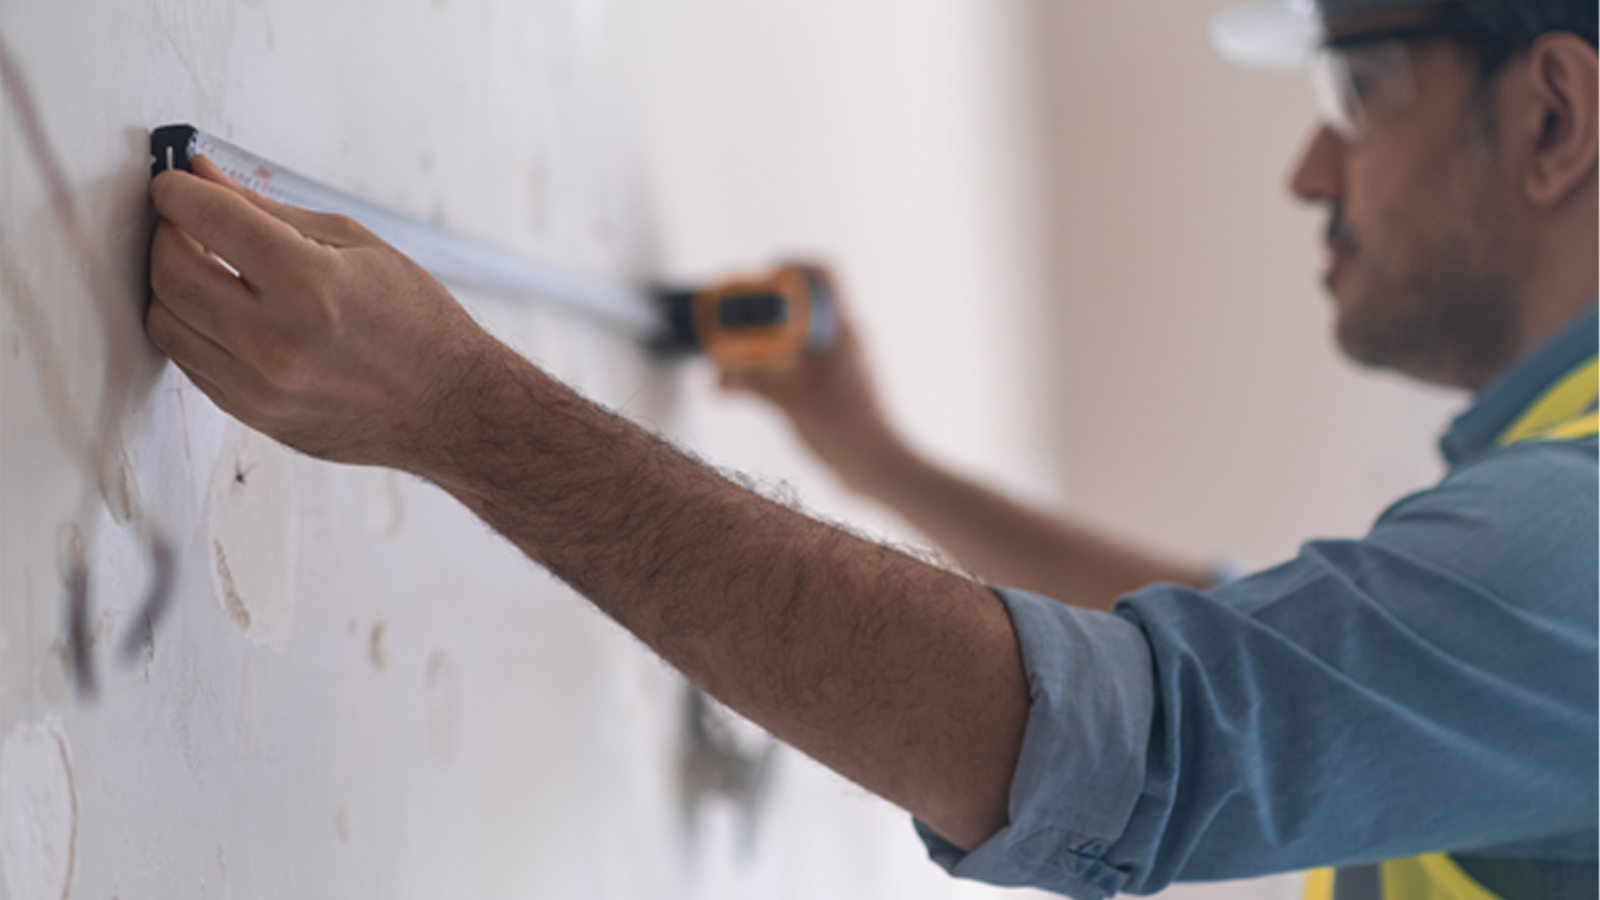
Start by measuring the width and height of each elevation.
Multiply the width by the height to calculate the approximate wall area in square metres.
Next, measure windows, doors and any areas that won't be clad.
That gives you a starting point for estimating material quantities.
Try it: wall area calculator
Add each elevation you plan to clad. Enter the total area of windows, doors and anything else that won't be clad.
A starting point only. Use the manufacturer's coverage figures and your cutting layout to work out board quantities, or ask us to help.
However, don't rely on the total area alone.
Count your corners, openings and joints
Make a note of:
- Internal and external corners
- Windows and doors
- Window heads, sills and reveals
- Gables and sloping cuts
- Board joints
- Pipes, vents and other obstructions
These details affect cutting, installation time and the accessories you'll need.
The manufacturer's board coverage figures and your proposed cutting layout will help you calculate quantities more accurately.
What skills do you need to install weatherboard?
You don't necessarily need to be a professional carpenter, but you do need the right practical skills.
These include:
Good preparation and patience matter as much as speed.
If you haven't worked with external wall systems before, consider starting with a smaller project or using an experienced installer.
What tools do you need for weatherboard installation?
The tool list depends on the material and fixing system.
For a typical project, you may need:
Good to know
Always check the manufacturer's current fixing guide before purchasing tools or consumables.
How do you cut fibre cement weatherboard safely?
Fibre cement needs particular care during cutting because the dust may contain respirable crystalline silica.
Breathing this dust can cause serious long-term health problems.
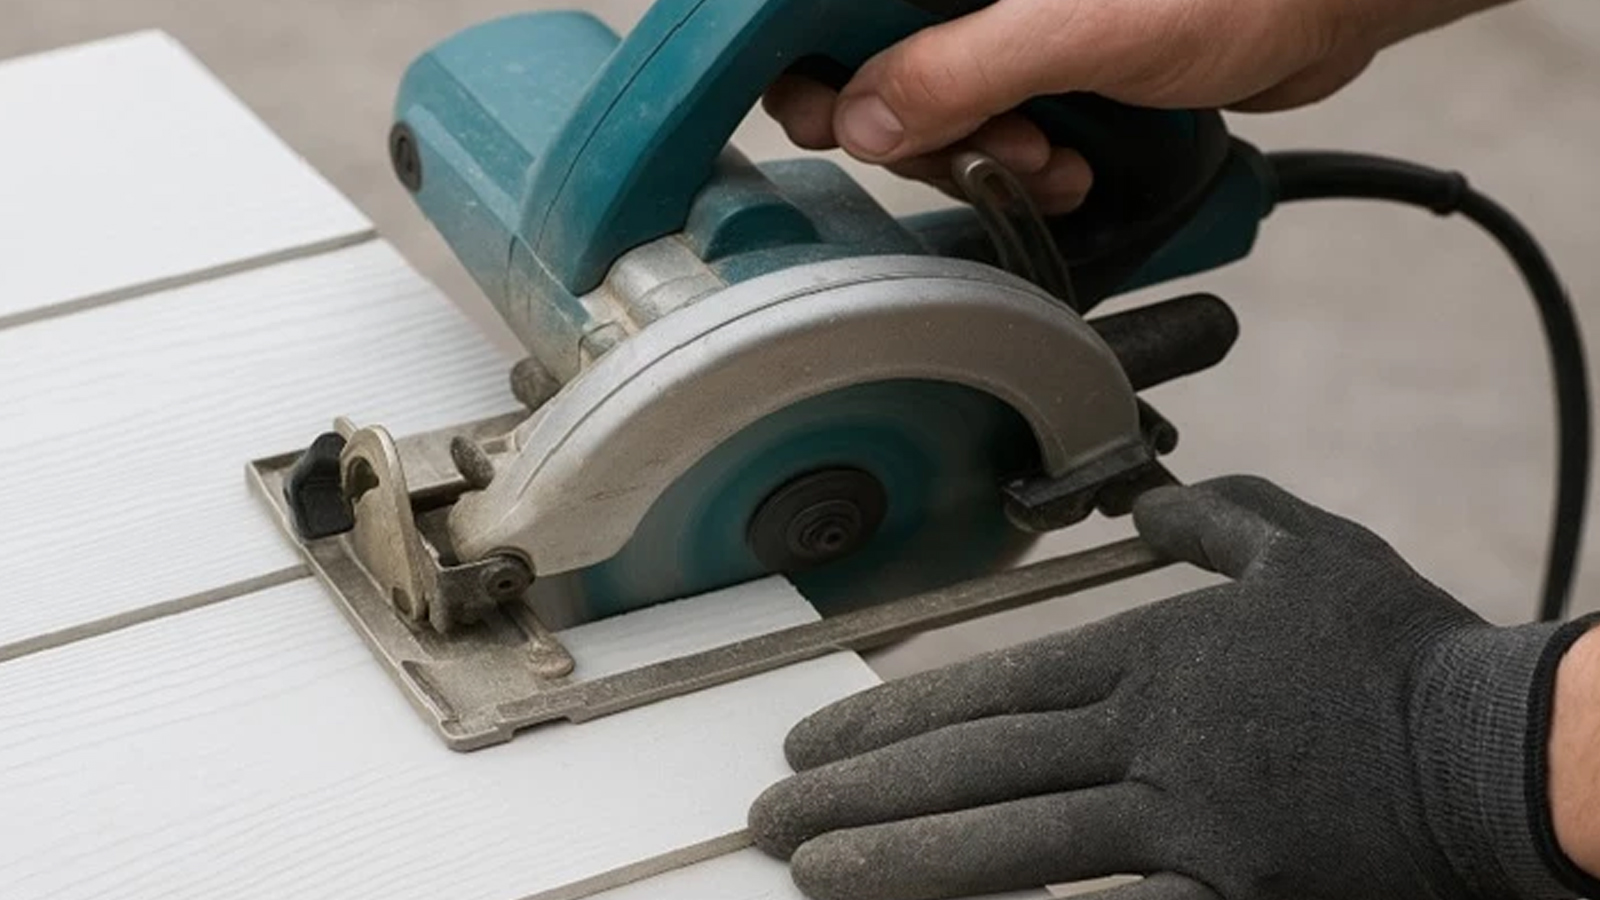
The safest method is to minimise dust generation and use the cutting method recommended by the manufacturer.
Depending on the product, suitable purpose-made shears or guillotines may reduce dust compared with power cutting.
Where powered cutting is necessary, follow the manufacturer's instructions and use effective dust controls, such as suitable on-tool extraction.
Appropriate respiratory protective equipment may also be required. It should be selected and used correctly alongside dust controls, not treated as their replacement.
-
Do
- Minimise dust generation
- Use the manufacturer's recommended cutting method
- Consider purpose-made shears or guillotines
- Use effective dust controls, such as on-tool extraction
- Use suitable respiratory protection alongside dust controls
-
Don’t
- Avoid uncontrolled dry cutting
- Never use compressed air to clean up harmful dust
- Never dry sweep harmful dust
- Don't treat a mask as a replacement for dust controls
Avoid uncontrolled dry cutting and never use compressed air or dry sweeping to clean up harmful dust.
Consult current Health and Safety Executive guidance and the product's safety information before cutting.
Can you install cladding safely when working at height?
Working at height is one of the most important reasons to consider professional installation.
Safety first
Even a relatively small fall can cause serious injury.
Don't assume a ladder is suitable simply because the wall doesn't look particularly high.
Cladding work often involves handling long boards, using tools and working in awkward positions.
You need a stable working platform and suitable access arrangements for the task.
Where work involves substantial height, difficult access or handling large materials, a competent installer with appropriate equipment may be the safer option.
If you're employing someone to carry out the work, the relevant workplace safety duties also need to be considered.
Which is easier to install: timber or fibre cement weatherboard?
-
Timber
Timber weatherboard
Timber is often lighter and easier to cut with standard woodworking tools.
However, it needs careful consideration of moisture, movement, fixings and any required surface treatments.
The exact installation method depends on the timber species and profile.
-
Fibre cement
Fibre cement weatherboard
Fibre cement provides consistent manufactured boards and, in many cases, a factory-applied colour finish.
However, it can be heavier and requires appropriate cutting methods and dust control.
For example, Cedral Lap uses an overlapping installation, while Cedral Click uses a tongue-and-groove system.
Good to know
Neither system eliminates the need for accurate setting out, correctly designed support and proper finishing details.
How long does DIY weatherboard installation take?
There's no reliable fixed timescale for every cladding job.
A straightforward wall with clear access and few openings may be considerably quicker than an elevation with several windows, corners or awkward cuts.
Time also depends on your experience, the material, the condition of the wall and the preparation required.
Allow time for:
- Planning and measuring
- Ordering and receiving materials
- Preparing the wall
- Setting out battens and profiles
- Cutting and fitting boards
- Finishing openings and corners
- Inspecting the completed work
Worth remembering
Avoid treating an installation as a weekend job until you've assessed the complete scope.
What are the most common DIY cladding mistakes?
-
Starting without checking the wall
Cladding shouldn't be used to hide unresolved damp, damaged substrates or structural problems. Check the wall before covering it.
-
Getting the first course wrong
An inaccurate starter profile can affect the appearance of the finished installation. Take time to establish a consistent level.
-
Ignoring ventilation and moisture control
Cladding systems need the correct drainage, ventilation and weatherproofing details. Poor installation can trap moisture or allow water into vulnerable parts of the wall.
-
Using incorrect fixings
Fixings must suit the board, supporting structure and environmental conditions. Follow the manufacturer's system requirements.
-
Forgetting finishing accessories
Corners, openings and joints all need suitable detailing. Include these parts when calculating your materials.
-
Underestimating access and handling
Long boards can be awkward to lift, position and secure. Plan how you'll handle materials safely before work begins.
When should you hire a professional cladding installer?
Professional installation is worth considering when:
None of these apply so far.
A smaller, straightforward project may suit a capable DIYer, as long as you can work safely and follow the manufacturer’s instructions.
Paying an experienced installer may cost more upfront, but it can help avoid mistakes and provide greater confidence in the finished work.
Frequently asked questions about DIY weatherboard installation
Choose your cladding system
Each system comes with its own fixings, trims and installation guidance. Check the details before you order.


Cladding accessories · Help videos · Brochures and downloads · Order samples
Weatherboard Supplies
Need advice before installing your cladding?
Not every cladding project needs a professional installer, but every project needs the right materials and preparation.
If you're considering doing the work yourself, we're happy to help you understand the options.
Tell us about your wall, the product you're considering and any details you're unsure about.
We can help you check product information, estimate materials and identify the accessories you'll need.
And if the project looks better suited to an experienced installer, it's worth knowing that before you order.
Speak to Weatherboard Supplies for practical advice on choosing and preparing your cladding materials.